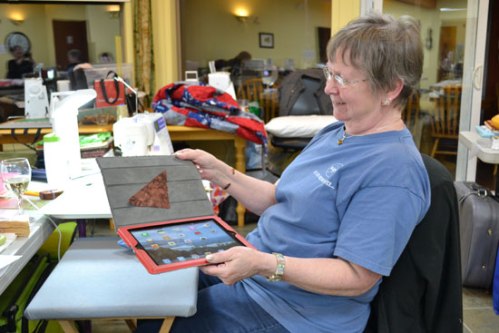
I promised you in January some tips and tricks for working on your Spring Bouquet Block of the Month. Well, the next time I was able to get back to working on this project was during our staff retreat at North Bow Lodge in April. (Yes, that is the kind of life I live.) And, as I worked through it, I was able to get some pictures taken. Here’s a picture of Pat A. who discovered iPad’s were the place to look if your pieces went missing. See what happens if you mix technology and quilting:
We now know that you can use your iPad cover as a design board for miniatures.
Moments like this show just how distracting a retreat can be. You can get involved with everyone’s project, have some munchies, have a laugh at Barb’s jab at Linda C’s pattern interpretation woes, and totally lose focus of what you brought. But wait, what was it that we were there for? Fun, yes, fun, and we had plenty of that.
Maybe if I hadn’t laughed so much, I would have got more done. But I did manage to finish a block a day. So I left with having made it part way through Block 5 – the center block, and I am able to share with you some tips on this program.
First of all, the pattern recommends you cut your background squares 16 ½”. Since the block shrinks a little with the stitching down of the applique pieces, cut your background squares at 17” and then trim them to 16 ½” after the applique stitching is done. Just make sure when you trim them up to leave a ¼” seam allowance around the applique elements.
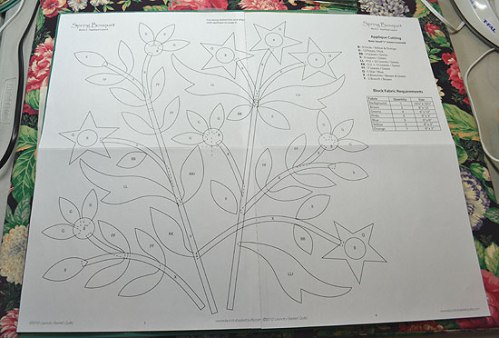
Each block is 2 pattern sheets. Tape them together with scotch tape.
Fold your background square into quarters and crease it in the center both ways.
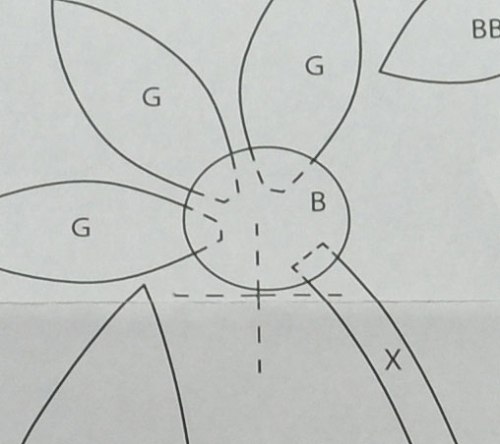
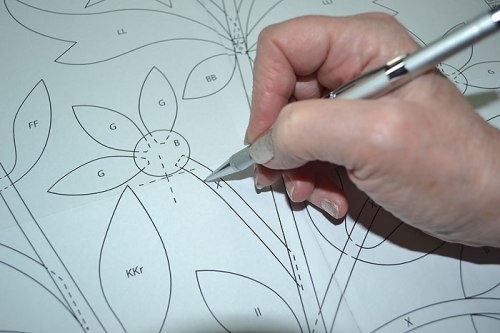
Now, you have to manage the placement of your applique pieces on the fabric. If you have a light-coloured background fabric, you can secure your pattern on a window or a light box and place your background square over it, aligning the center creases to the center registration cross marks on the pattern. Here’s a picture of the center registration marks on the pattern.
Secure the pattern and fabric so they don’t shift. Transfer the design inside the pattern lines with a removable marking pencil (such as an erasable ceramic lead pencil), or work directly on the light box and lightly fuse or press the pieces in place.
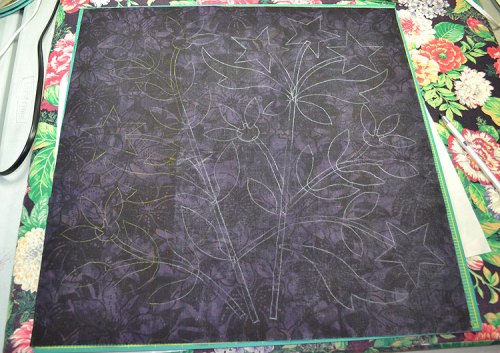
However, if you have a dark background, you don’t have the advantage of seeing your pattern from behind. So, you will need to transfer the pattern design to your background fabric, using a wax-free transfer paper. I used the Saral brand.
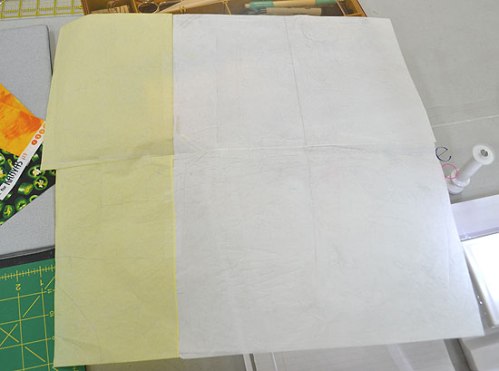
Scotch-tape enough light-coloured sheets of Saral Transfer Paper to cover the entire background square.
Lay your background square down on a hard, flat working surface, with the right side facing up. With the pattern on top of the fabric, align the center registration marks of the pattern to the crease marks you made on the background square. This will take some peeking underneath the pattern and using a pin to get them lined up. Scotch tape the pattern along the top of the background fabric.
Slide the Saral paper between the pattern and the background square. Make sure the tracing side is facing down on the right side of your background square. This is very important folks, as you can spend a lot of time tracing and not transferring your design at all. Ask me how I know (more than once).
Using a stylus, trace just inside the lines of the pattern design.
I used a mechanical pencil without the lead for this task. However, subsequent to this, Joanne L. introduced me to the Clover ballpoint awl. It was much smoother to use, and I’ll be sure to purchase one now that we have them in stock.
Methodically trace all the lines of the pattern designs, except for the ones you’ll never see once you get the other pieces on top, such as the little circle centers of the flowers. Don’t let yourself get interrupted during this process, or you won’t know where you left off and what part got traced. This is another ask-me-how-I-know bit of advice. And don’t forget to take a sneak peek soon after you start tracing just to make sure you’ve got the correct side down of the Saral paper. Murphy’s law is: If you don’t peek to be sure, it’s bound to be the wrong side down.
When you are finished, lift up the pattern and Saral paper, and make double-sure you traced it all before you remove the pattern and Saral paper completely.
You should now have the design on the front of your background fabric square. The wonderful thing about this transfer paper is if your applique pieces don’t completely cover the tracing lines, they just erase away with a good-quality, clean, white pencil eraser. The lines don’t heat set from the iron. You can see the design, but you don’t have to worry that the lines won’t be easily removed.
And now you are ready to fuse your applique pieces down! That will be the next post.
Linda
Original Publication - May 22, 2013 on https://alongcamequilting.wordpress.com/


