It’s time to get stitching!
The pattern insert regarding the applique process is on the back of the pattern picture. But most of this information is presuming that you don’t have the already pre-fused and pre-cut Silhouette applique shapes. With these shapes, you do not need to trace, and you can fuse them directly on to your background. On the instructions, this falls in the category of “Fusible Applique”.
Thread
The pattern recommends using invisible nylon thread. If you don’t already know from a previous blog post, I am not a fan of invisible thread. But I’m even less a fan of the “nylon” variety. So if you really want to use invisible thread, I recommend you use the “polyester” variety. Superior makes one called MonoPoly, and Sulky makes one simply called Invisible Thread. We stock both brands in the clear and smoke colours.
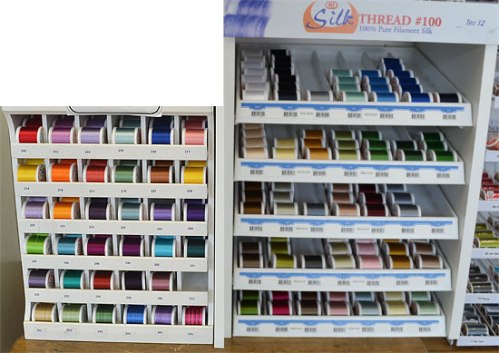
Since I discovered 100 weight silk thread, I have fallen in love with it. We now stock all the colours of the YLI brand. This is the finest thread we carry. It allows you to do little stitches and fine work that a 50 weight cotton doesn’t do well. And it is as close to invisible as you can get with a fiber.
Now, don’t think you’ll need to buy oodles of spools for this project. Being 100 weight, this thread is very fine and takes on the colour to which it is stitched. Matching the value of the thread to the applique piece is more important than an actual exact colour match (much like invisible thread that is also very fine, where you use the smoke for dark pieces and clear for light).
I went home with eight different colours, but have pretty much whittled down my requirements to 5 colours:
- 208
- 234
- 238 (this gray works wonderfully with the green leaves and stems)
- 241
- 07V (a variegated)
I wound bobbins of each of these as well. By using the same weight in the bobbin, I eliminate a lot of the tension problems. If there are occasions where the bobbin thread rises to the top, you won’t notice it with the same colour in the bobbin (this is more likely on the tight curves of the little yellow circles). You see, I really like to have the fewest possible problems when sewing. And by using matching thread on the bottom, I have nixed some possible stressors.
Some people are concerned about the price of silk versus other thread fibers, but I feel in the long run, the benefits much outweigh the costs. Particularly since – drum roll please – I don’t need to use a stabilizer on the bottom when doing a small zigzag with 100 weight silk thread in the top and bottom. Now, you know that stabilizer costs too, and then you have to remove it, hoping you are not pulling out your stitches as you do so. When I am done stitching, I don’t have hours of removing stabilizer afterwards. Here’s a picture of the reverse side of my block.
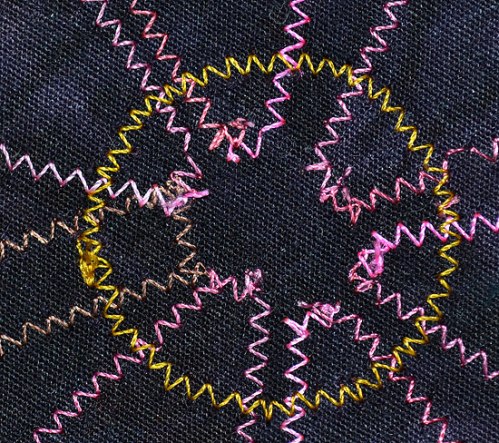
And here is a picture of the front side.
Look Ma! No tunneling, puckering, or fabric distortion that can come with heavier threads and a zig-zag or decorative stitch.
Needle
So let’s talk needles. Size matters. For such a fine thread, you don’t want a needle that will cause a large hole in your fabric. In theory, the space left by the puncture of the needle should be filled with the thread. If I used a 90/14 needle with a 100 weight thread, the hole would be much too big for the thread used. I’d see holes in my work.
The type of needle matters, too. As I am working with batiks that have a high thread count (tightly woven), and I want precision work where the needle should penetrate exactly in the spot I want, then I know I want to use a sharp-pointed needle, not a ball-point or even a slightly ball-pointed needle.
The size and type added up to the perfect selection of a 70/10 Microtex (sharp) needle.
Stitch
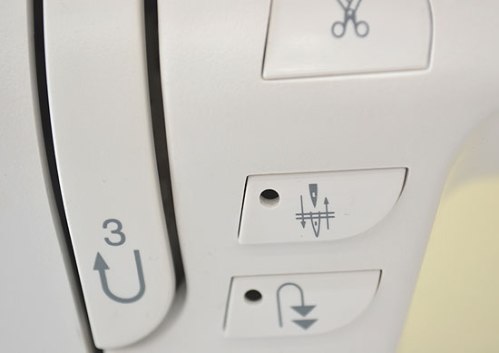
I used a small open zig-zag stich. As I am not going to be sleeping under this quilt, there certainly was no need to satin stitch along the edge of the applique. But I did want to make sure my stitch was tight enough that the fabric wouldn’t fray if I washed it. I have an Elna eXcellence 740 and used stitch 10 which is a right swing zig-zag. For most of the stitching, I used a width of 1.8 and a length of .95. I programmed this in with the Personal Setting key (PS), and that is why you see the “C” above these numbers on the screen below.
Foot
You need to see where you are driving. And sewing, for that matter. So, I used an open-toe satin stitch foot, which is coded F2 for the Elna (or Janome brand).
Stitching
You can sew a lock stitch when you begin and end your stitching. But being slightly paranoid, I lock stitch and sew a few very, very small straight stitches generally right next to the applique piece before beginning and after ending my zig-zag stitching. I hope you can see this on the yellow stitching in the picture below.
You may also have noticed that the pink stitching of petals extends underneath the yellow flower center. Well, remember from my previous post I told you I try to do my stitching in the same order as the fusing, instead of stitching everything after all the fusing is done. This way, the ends of most of my stitches are hidden by another applique piece. I don’t need to worry about securing my stitches when I will be fusing another piece on top after. (Not to say I didn’t secure them – remember the paranoia?)
When sewing your zig-zag stitch, the ideal stitch has your right needle swing falling directly beside the edge of your applique piece, and the left needle swing penetrating the applique piece itself.
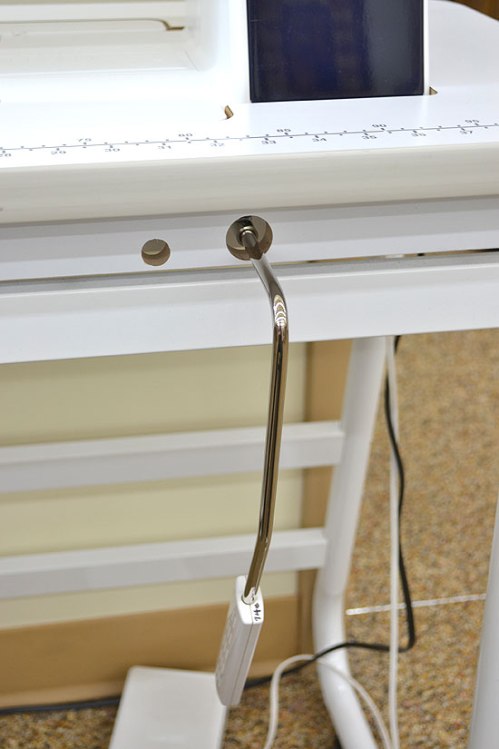
As you stitch, you will need to raise your presser foot repeatedly to pivot, unless you are stitching straight lines. Regular presser foot lifting is a must if you want your stitches to properly cover your curves and allow the fabric to remain flat and not bunch or pucker. To make this easy, activate the needle down function on your sewing machine if you have it. This makes the needle stop in the down position every time you stop sewing, without having to hand wheel the needle into the fabric. And use your knee lift if you have one! It lifts the presser foot, without you having to take your hands off the project. Just a little release of foot pressure with the knee lift is all you need to turn your project.
You will find that on convex curves (a quilter’s outie), the best time to pivot is on the right swing of the needle. On concave curves (an innie), the best time to pivot is on the left swing of the needle.
Now, get busy with your stitching, and I’ll next post some of my Ta Da’s for this project.
Linda
Original Publication - May 26, 2013 on https://alongcamequilting.wordpress.com/


