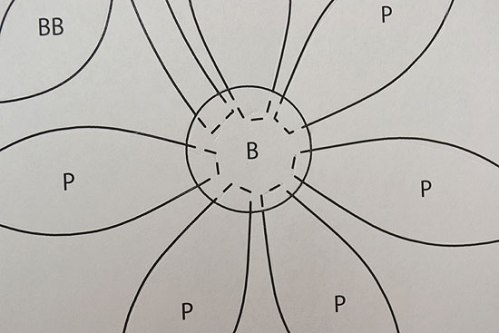
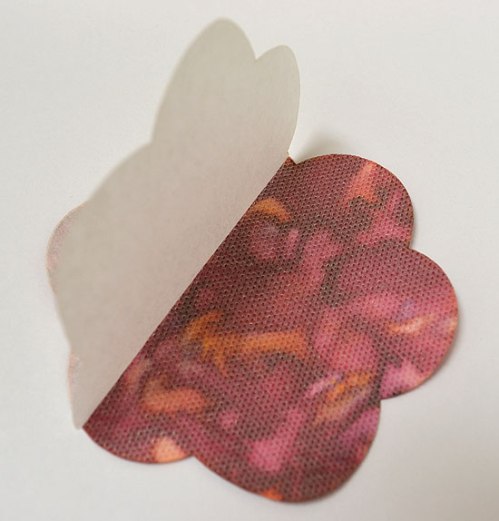
So now that you have your design traced on your fabric (or you can use a light box with light-coloured background), you are ready to fuse your applique pieces in place.
The pattern does not have an “order of fusing” provided. So you need to study the pattern to determine which design elements fit underneath others. The pattern has dotted lines of the pieces that fit underneath others.
I found you generally need to fuse in this order:
- Leaves that go underneath stems.
- Short stems.
- Long stems.
- Petals.
- Flower centers.
- Other elements that are not underneath anything.
Laundry Basket uses the Steam‑a‑Seam 2 product on their Silhouettes. Once you peel off the paper on the back of your Silhouettes, the fusible web is tacky.
This web has a slight hold if you press it in place on your background square. I certainly don’t find it has as much “tacky hold” as advertised where you could hold up the block without the applique falling off. However, that may have to do with our very dry environment.
In order to increase the tack, you can warm it up a bit in your hand or lightly warm the background fabric with an iron and then press the applique on top.
I found that for this project, it was much easier to use a small iron. I used my Clover Mini Iron for most of the time. However, when I wanted to cover a “larger” area, I used a travel-size iron. Find irons on our website here.
Laundry Basket recommends on the packaging of the Silhouettes to fuse with a dry iron on the cotton setting for 3 seconds. However, you may need to experiment with your own particular iron. You want to have a long enough duration and temperature combination that the fusible melts, fuses, and stays fused after cooling.
After fusing, I checked my edges of the applique pieces, to make sure they were truly fused down. It is rather annoying to be stitching and find the applique piece is loose.
You will find that the Silhouette applique pieces do not always completely line up with the design. Occasionally they are a little slimmer or might not be in exactly the same spot. Don’t sweat this. Any lines you drew that don’t get covered with applique can be erased away. Yeah!!
Most people fuse all their applique pieces down and then proceed with their stitching. This is much faster, and you can actually have the fusing done for the entire quilt before doing any stitching. This way, if you are stitching with multiple colours of thread, you stitch all the pieces throughout the quilt with that thread. Then you are not always changing the thread, as you would if you worked at completing one block at a time.
But being the kind of person who likes the stops and starts of her stitching to be underneath another applique element if possible, I fuse what I can, do my stitching, and then fuse the next layer of applique designs on top. (Now stop groaning! You don’t have to do it my way. This is much more tedious – I fully admit that. Most people will be much happier fusing everything and then stitching.)
The next post will be about stitching your Silhouette applique pieces down.
Linda
Original Publication - May 23, 2013 on https://alongcamequilting.wordpress.com/


